Georgia On My Mind
Welcome back my fellow DIY’ers and welcome to this edition of, “That Awesome DIY Fireplace” where we introduce a DIY homeowner, tell you what state they reside in, and show you how awesome they were at building their own outdoor fireplace. This one is awesome to say the least.
Who is Our Contestant?
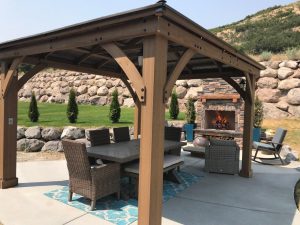
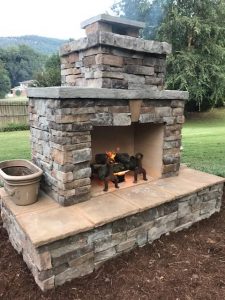
Let’s go to the southeast, beautiful Georgia to be precise, to introduce homeowner John. John had a bare space out his backdoor that needed a little sprucing up. After checking out the construction plans at www.backyardflare.com, John decided to build the Pima II outdoor fireplace, and he purchased the plans.
Getting Started
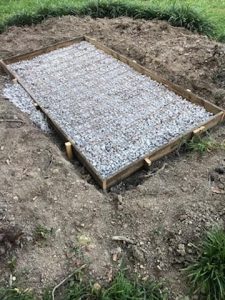
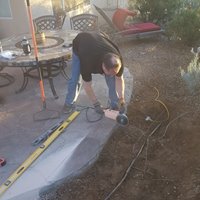
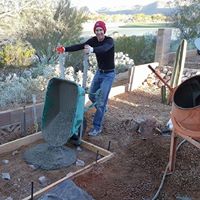
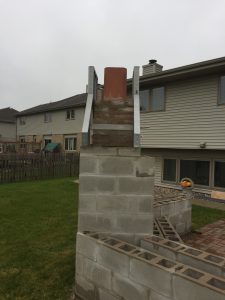
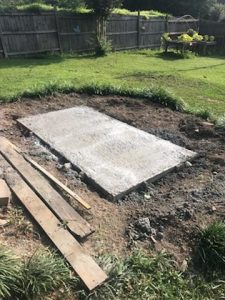
John had to clear a grassy area to get ready for the footprint slab to be poured. Once he mapped out the positioning of the fireplace, John excavated the area and did his ground prep. John built a wooden frame and added gravel and steel beneath the concrete. After pouring the concrete, he removed the wood, and he had his footprint slab ready for some mortar and block to be stacked.
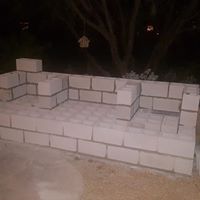
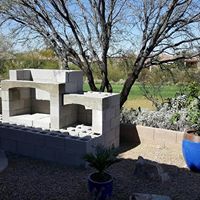
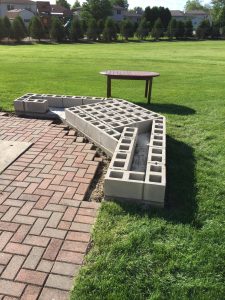
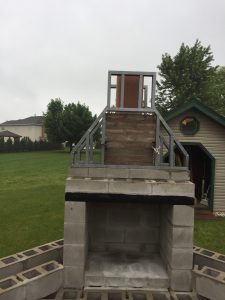
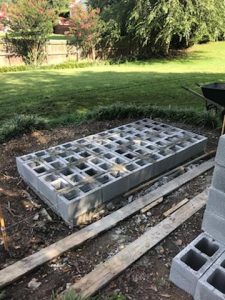
John spent the next few days building the cinder block structure, following the construction plans to a tee. John paid attention to detail with the mortar gaps and even though he hadn’t done much block work, he built beautifully.
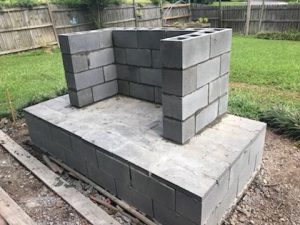
When John was getting the cinder block structure finished he began thinking about his finish material. John added his firebrick to the inside of the firebox without mortar gaps between them. He took the recommendation of Backyard Flare and used high heat construction adhesive to adhere the firebrick to the firebox walls.
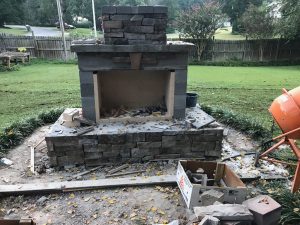
Finishing the DIY Fireplace
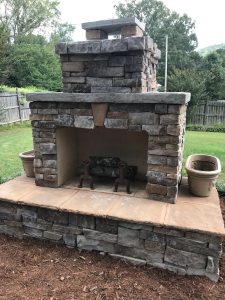
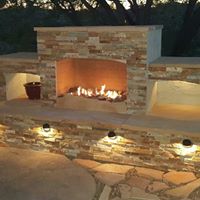
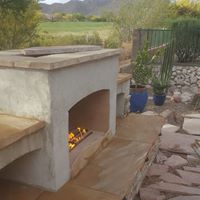
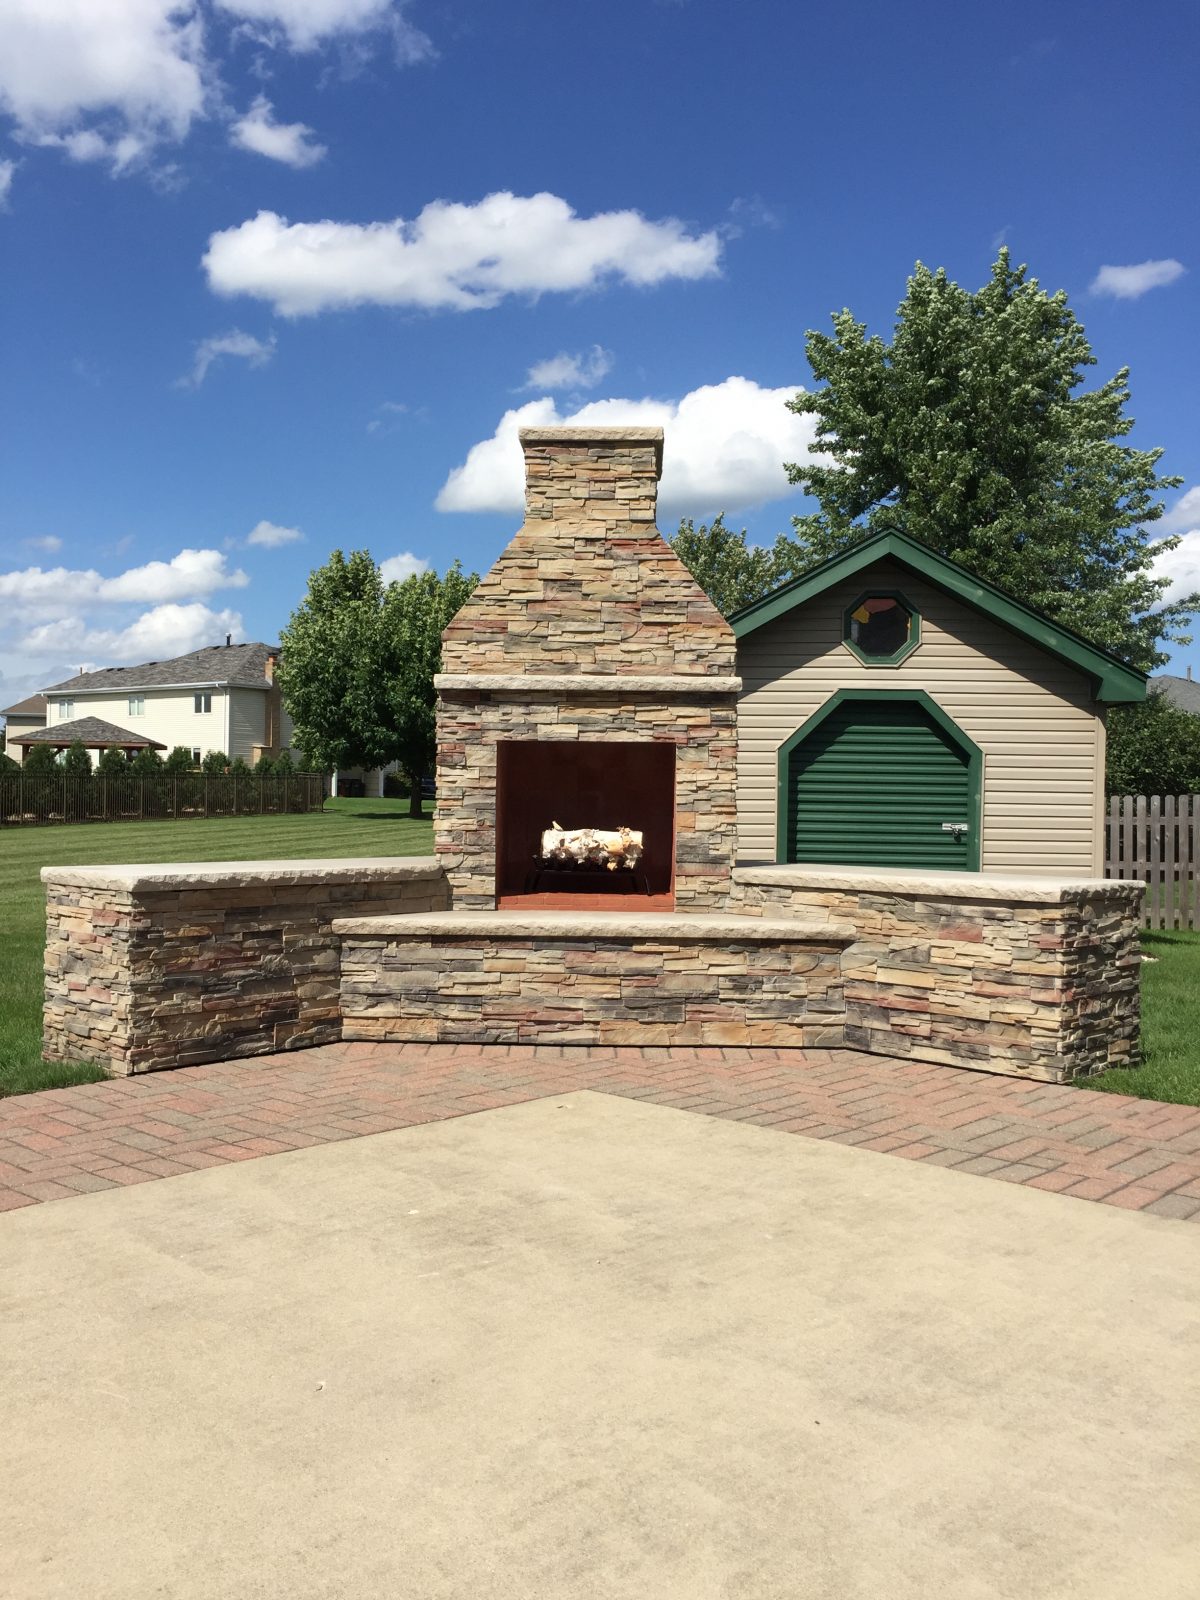
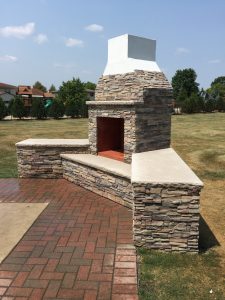
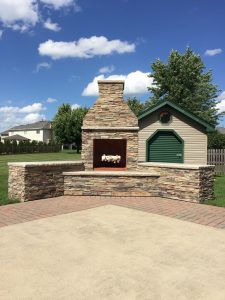
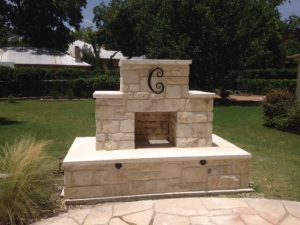
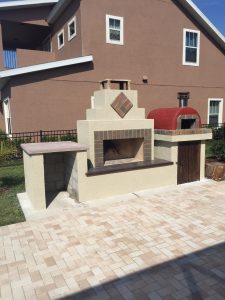
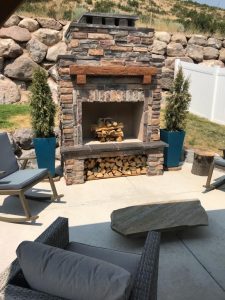
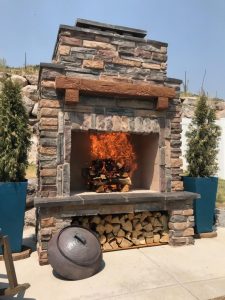
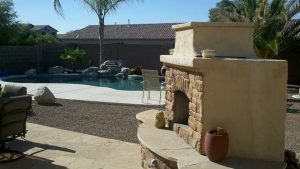
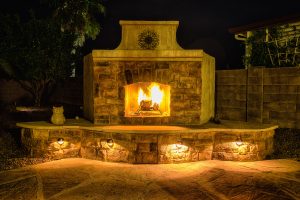
John picked out a great veneer with a dark tone. The chimney and hearth portions were covered first, with the keystone added just above the firebox, centered. The seating material was adhered to the top of the hearth with matching grout, before the center section of the fireplace was covered with veneer. The mantel was stuccoed for texture and the top of the chimney was adorned with a very cool cap stone.
Adding the Small Touches
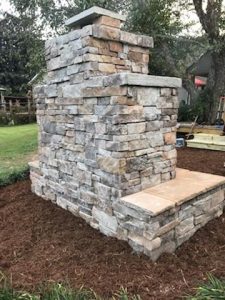
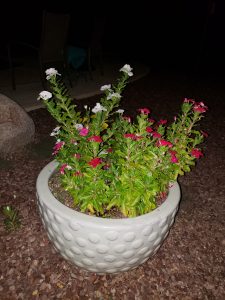
Dark colored mulch was spread all the way around the fireplace and up to the edge of the very green grass. Two planters were added to the sides of the structure, which will probably have great looking flowers in them someday.
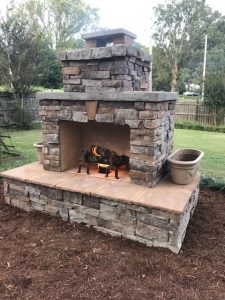

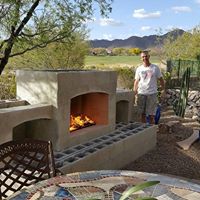
John bought a very decorative fire grate and added a few logs to it in anticipation of his first burn. Oh, and what a beautiful sight it was when John started his first blaze. He was so excited to share these pictures because he wanted to show off his DIY labor and show that it was possible to build it yourself.
Want to Build A Fireplace of Your Own?
We sure hope you like John’s fireplace and that it inspires you to think about one of these fireplaces in your backyard as well. It’s really not out of reach to achieve a stunning outdoor living space. John believes that if he can do it, anyone can do it. If you have the DIY mindset, we can help you achieve greatness. We have assisted hundreds of homeowners who are weekend DIY’ers, realize their potential to build fireplaces just like John’s, so you can do it too. Visit Backyard Flare to learn more so you can begin your journey too.
Thanks so much for reading about another great DIY fireplace build. We’ll bring you more soon, and as always …happy building.
