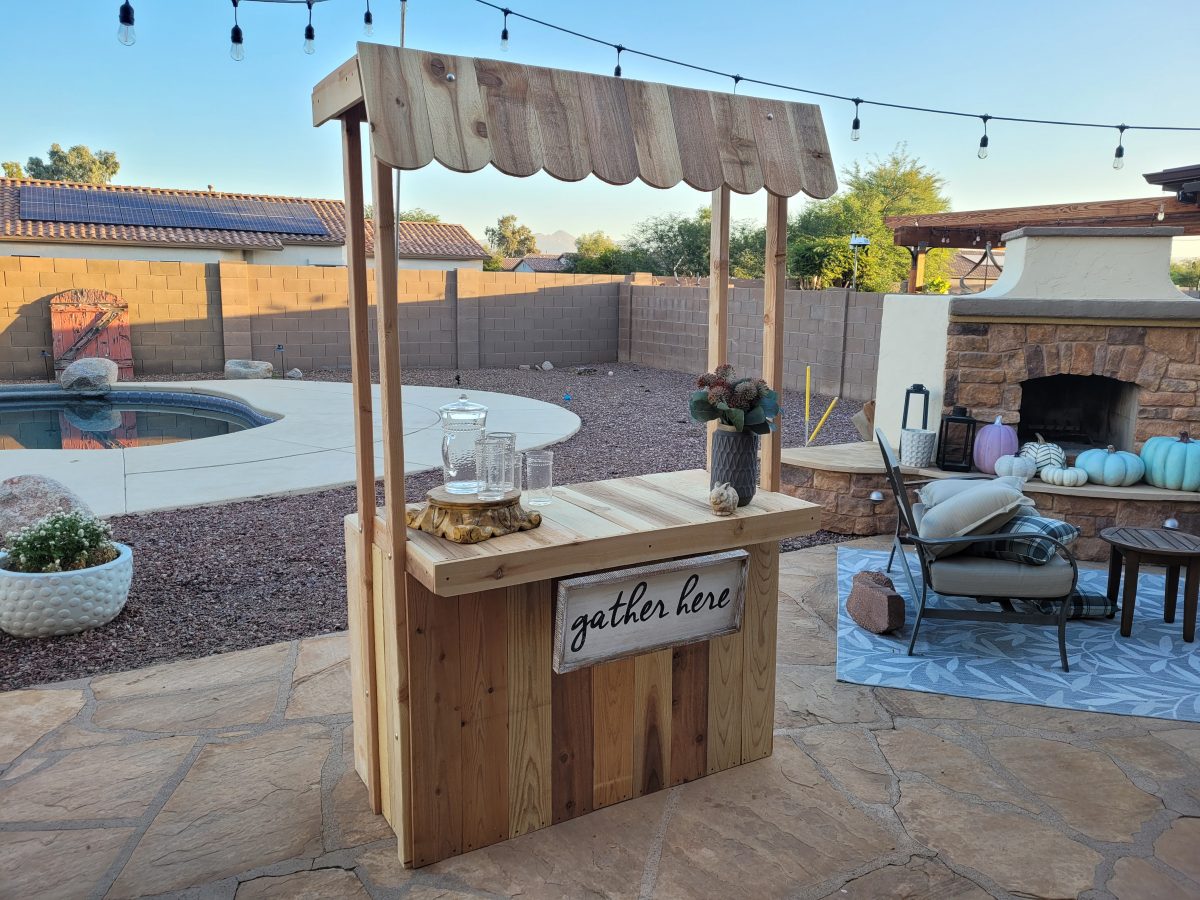
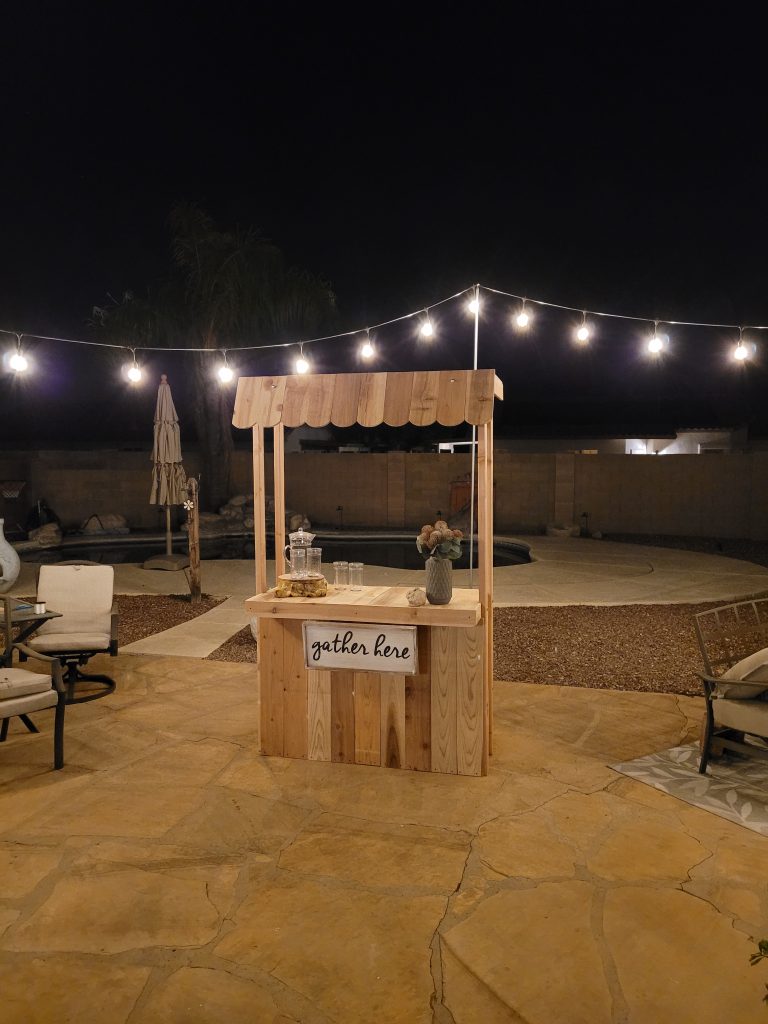
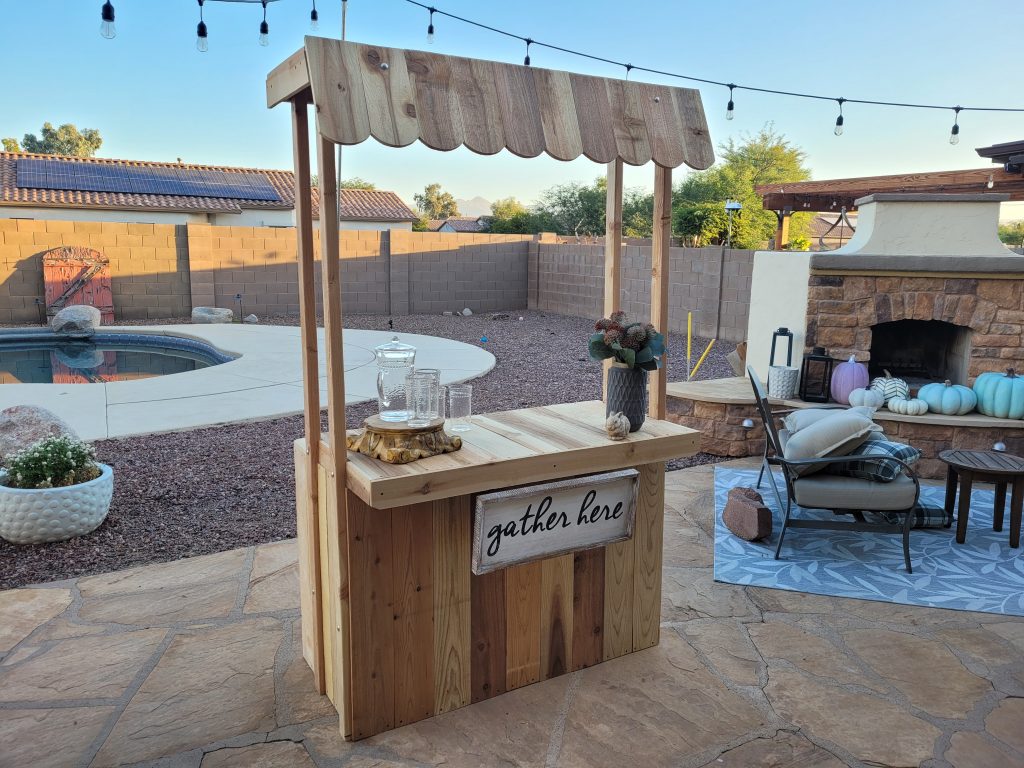
This project was so much fun. Want to learn more? Keep reading about our DIY hot chocolate stand build and how you can build one just like it.
Here we go again
The DIY bug hit us again here at Backyard Flare. This time we stepped outside the cinderblock and mortar world and we used a bit of wood. A few years ago we built a DIY beverage bar, and we used it primarily as a hot chocolate stand in the fall and winter months and as a lemonade stand in the spring and summer months. It was also used in craft fairs and weddings as a prop and for a decorative cool vibe. Friends and family would also borrow it all the time to use in their events and parties.
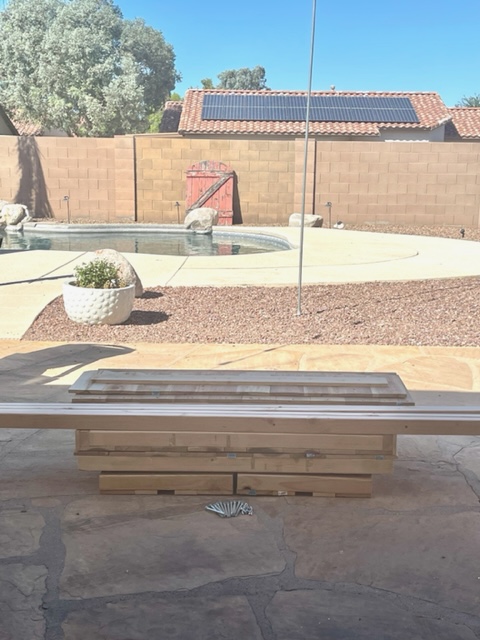
That first stand was really well built and it disassembled and broke down to a pretty small footprint for storage. Several carriage bolts held the bar together and it had a lot of structural integrity. A teacher friend ended up buying it from us to use as her desk and a focal point in her elementary school classroom, so we decided to build another one.
We Built it Again
This time, though, we documented the entire build with tons of detailed pics and we created a very comprehensive DIY construction plan for you. The plan has diagrams and the detailed pics that show you and written instructions that explain the build process. We are so proud of how it turned out and I’m sure these photos will show how well it was built. You can build one too as you follow along the 50 pages of DIY step by step plans. Yeah, I said it right. The plan is 50 whole pages.
We started our stop watch at the beginning of the construction and we turned it off when the build was complete. The build time from start to finish was a mere 7 hours on a Saturday morning and afternoon. My wife and I used the backyard patio as the build site as we didn’t need a huge area to work in.
You Ready to Build One Too?
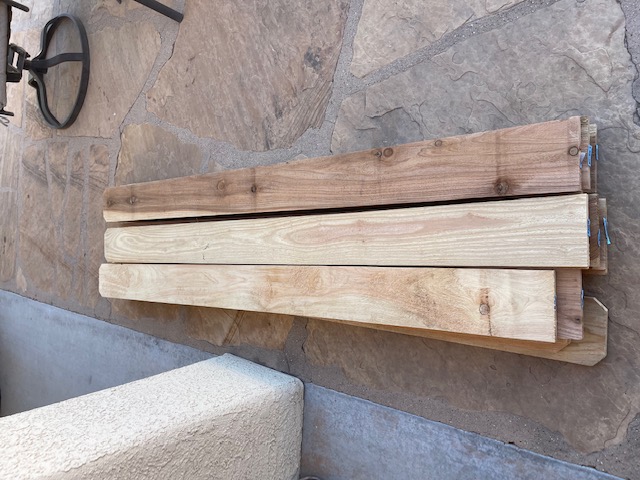
The comprehensive DIY construction plan includes a materials list for everything needed to build this exact bar. Everything was purchased at Lowes and we confirmed that our local Home Depot had the same size pieces of wood available too. The best part is that we only spent $170 for all the materials used. Yep, all of it. Really, that’s all. Hard to believe; we know.
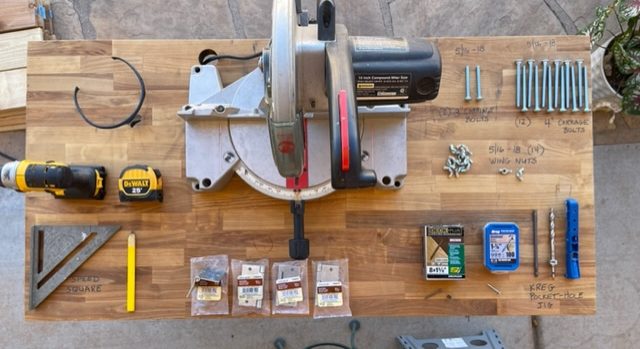
The tools list in the DIY construction plan also shows each tool used to build the bar, so you will know exactly what you’ll need, to do it the way we did. Most of these tools can be rented or even borrowed if you don’t have them.
Dimensions
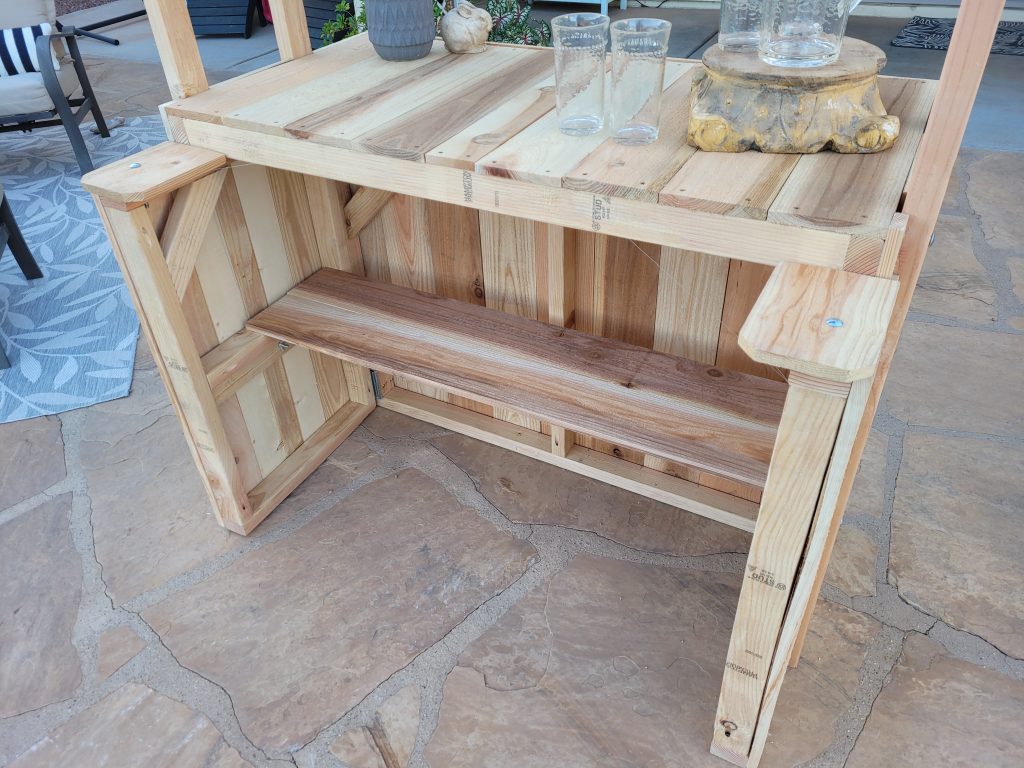
This beverage bar weighs over one hundred pounds so it is not a tip hazard. The width is 48″ and the height of the structure is almost 7′ as designed. The scalloped topper added a ton of character to the stand and we can’t wait to use it.
For parties, we will use it in our backyard and in the winter months, we will use it for hot chocolate while people tour the Christmas lights in our neighborhood. It’s become kind of a tradition over the years. So much fun to interact with jovial and interesting people. And there’s no better way to do it than over a cup of steaming hot chocolate topped with marshmallows and whipped cream.
So Easy to Assemble and Disassemble
From the broken down storage position, the hot chocolate stand is assembled in under 7 minutes and no tools are required. It’s all held tightly together using carriage bolts and wing nuts. So easy and fun. The best part is that it only requires one person to assemble it.
Do you have an event such as a festival, wedding, craft fair, etc… that would look great with this inexpensive addition? Or do you have a business or VRBO that would benefit from this budget but elegant build? We would love to hear what you are thinking.
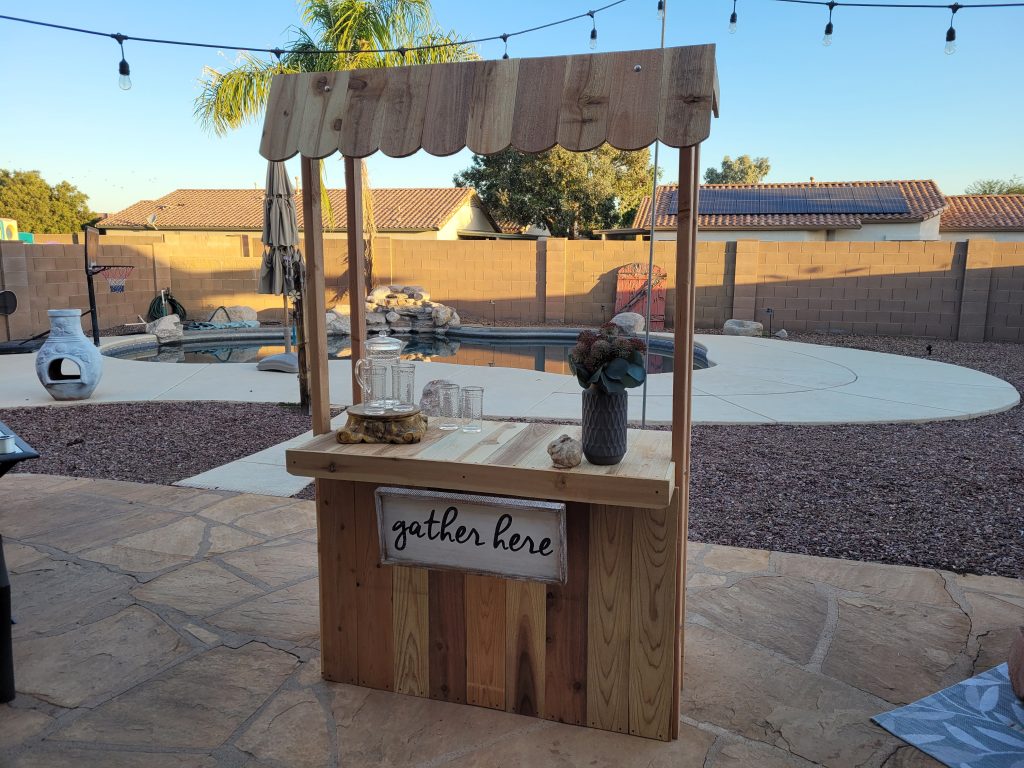
Please go to www.backyardflare.com for your copy of the beverage bar construction plan and start building today. The construction plan is only $24.99. We would love to hear from you.
